Farewell Summer: Black & White Polka Dot Set
This one is dedicated to all the sewist out there getting their last minute summer projects in. I too held on to the last couple of weeks of summer with one or two projects. But I must admit, I truly do believe I saved the best for last.
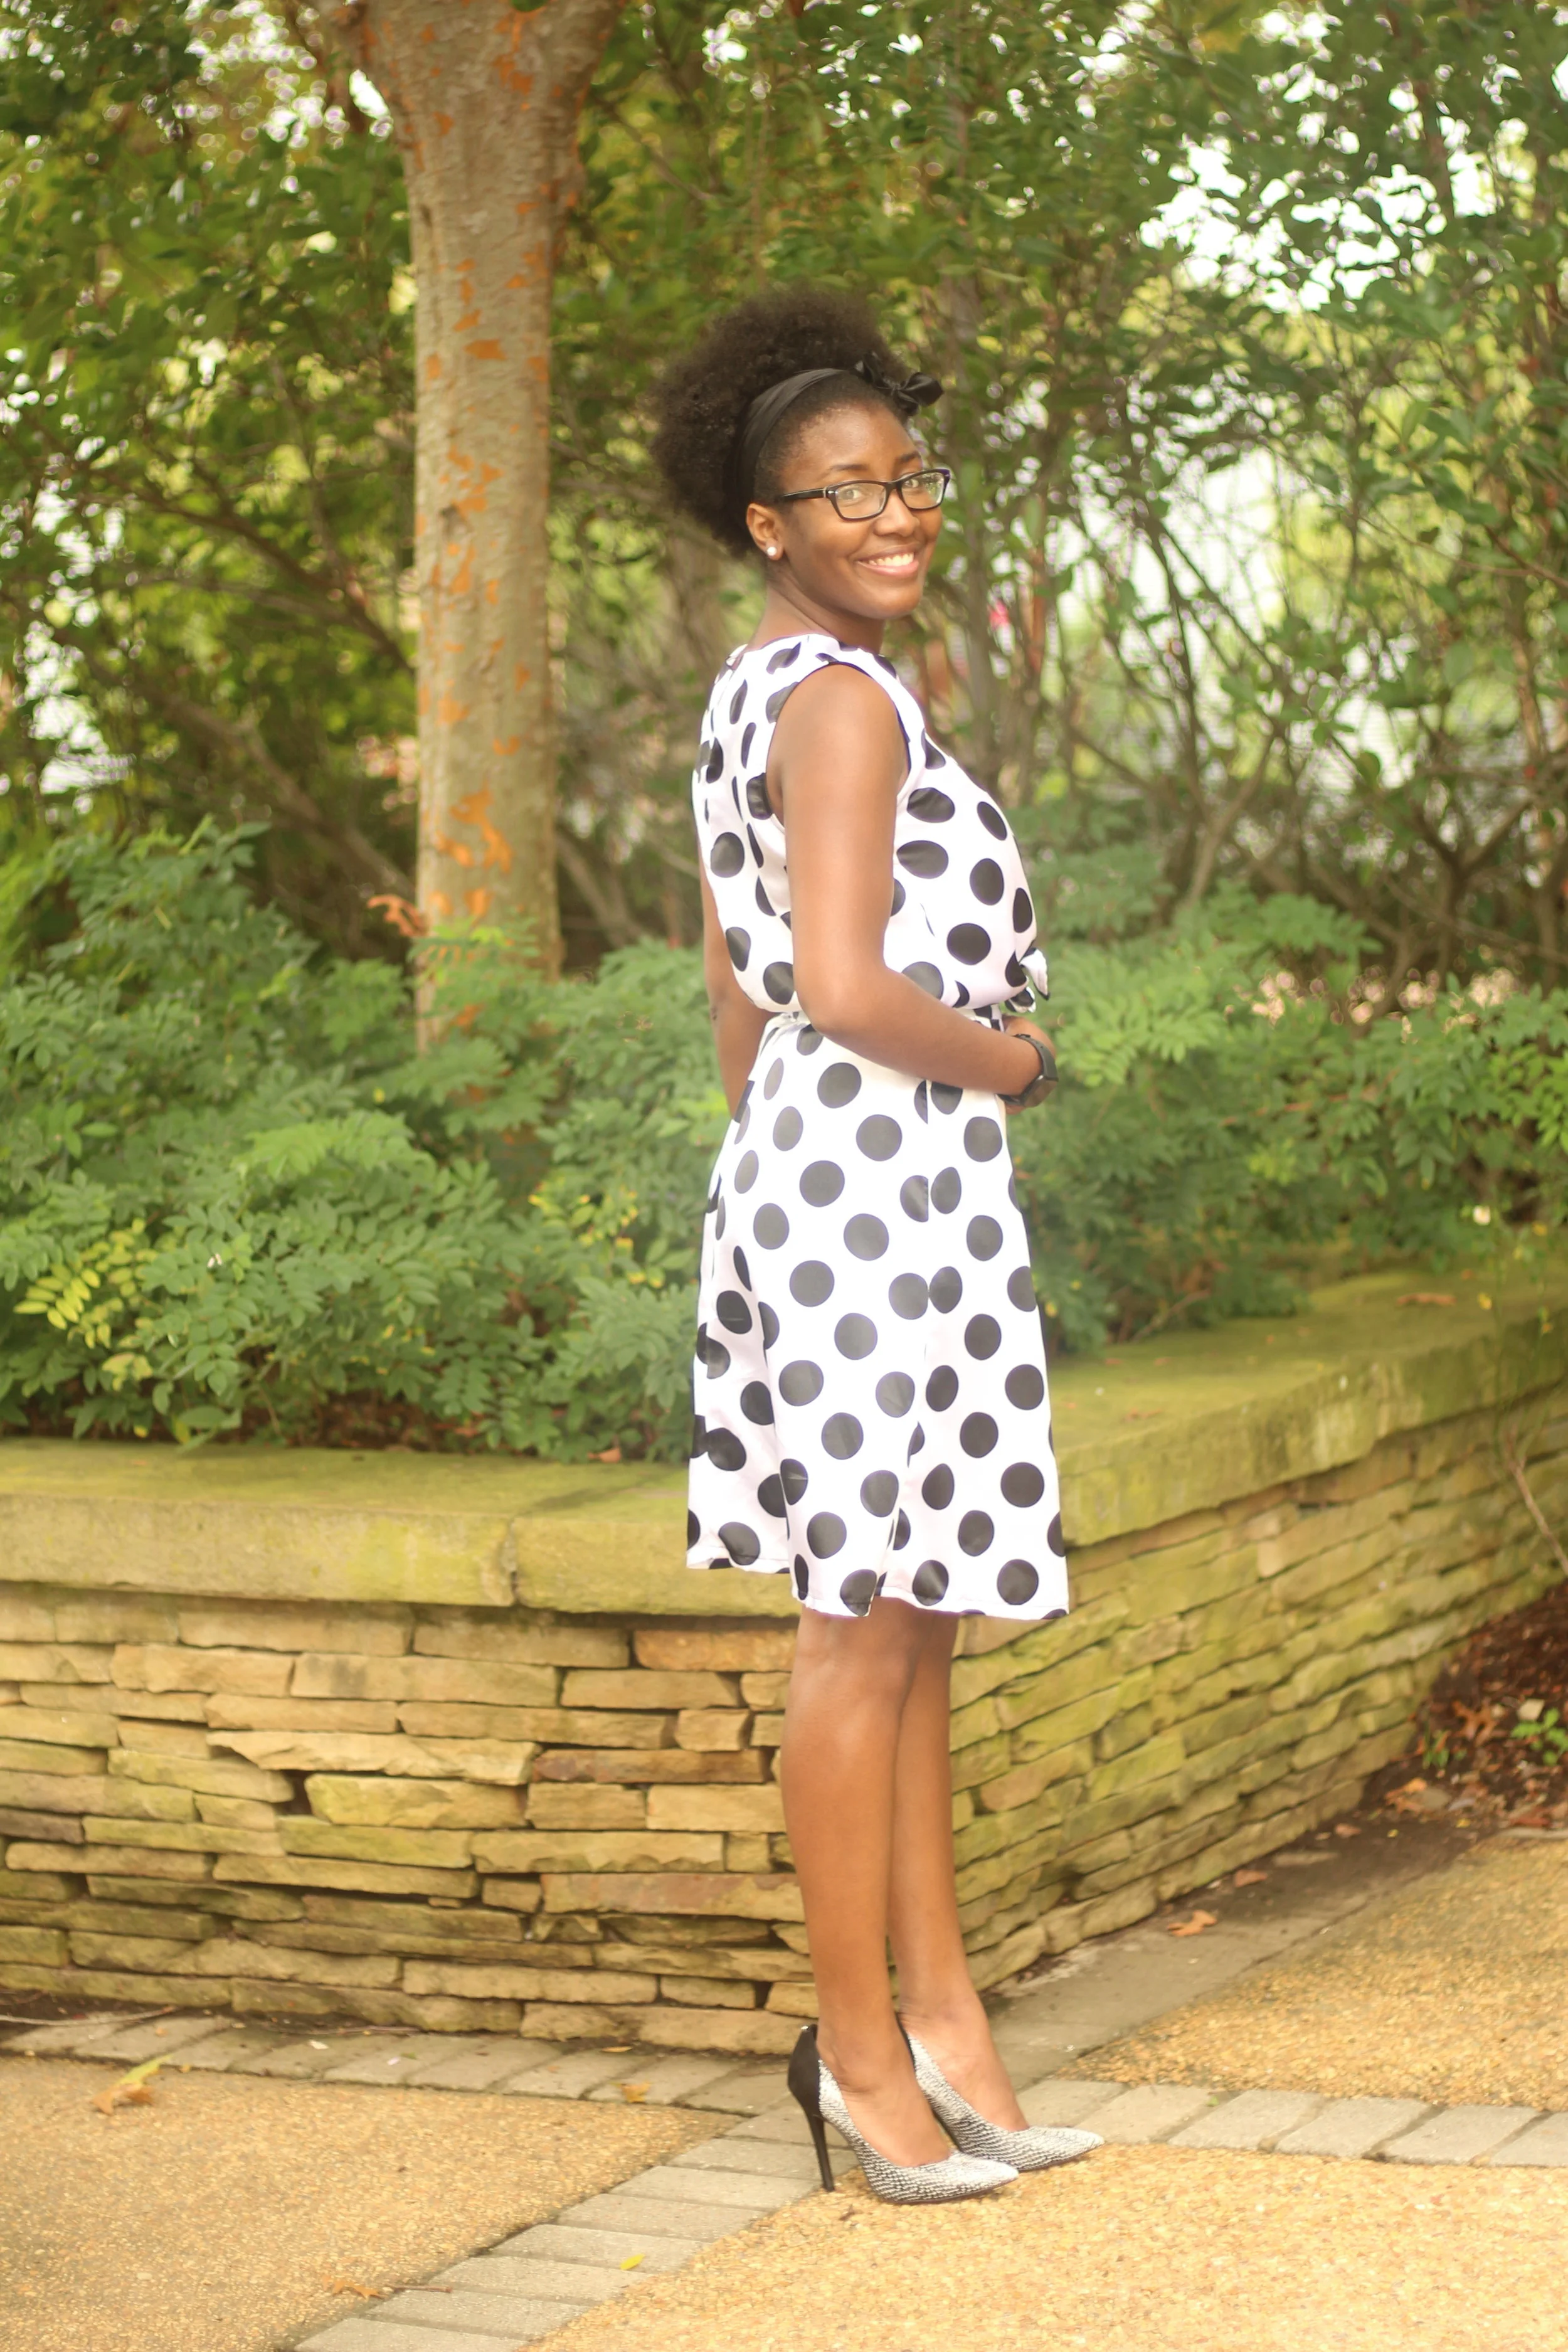
Lately I've really been wanting to make separate pieces that can be mixed and matched with other basic garments in my closet. I ordered 3 yards of this polka dot fabric last summer, hoping to make culottes out of it. That clearly did not happen and since I spent the last few months doing operation "sew my stash," I finally worked up the courage to make two projects with this charmeuse satin polka dot fabric from fabric.com. The final results was a fanstatic matching set that can be mixed and matched should I feel the need to change it up.
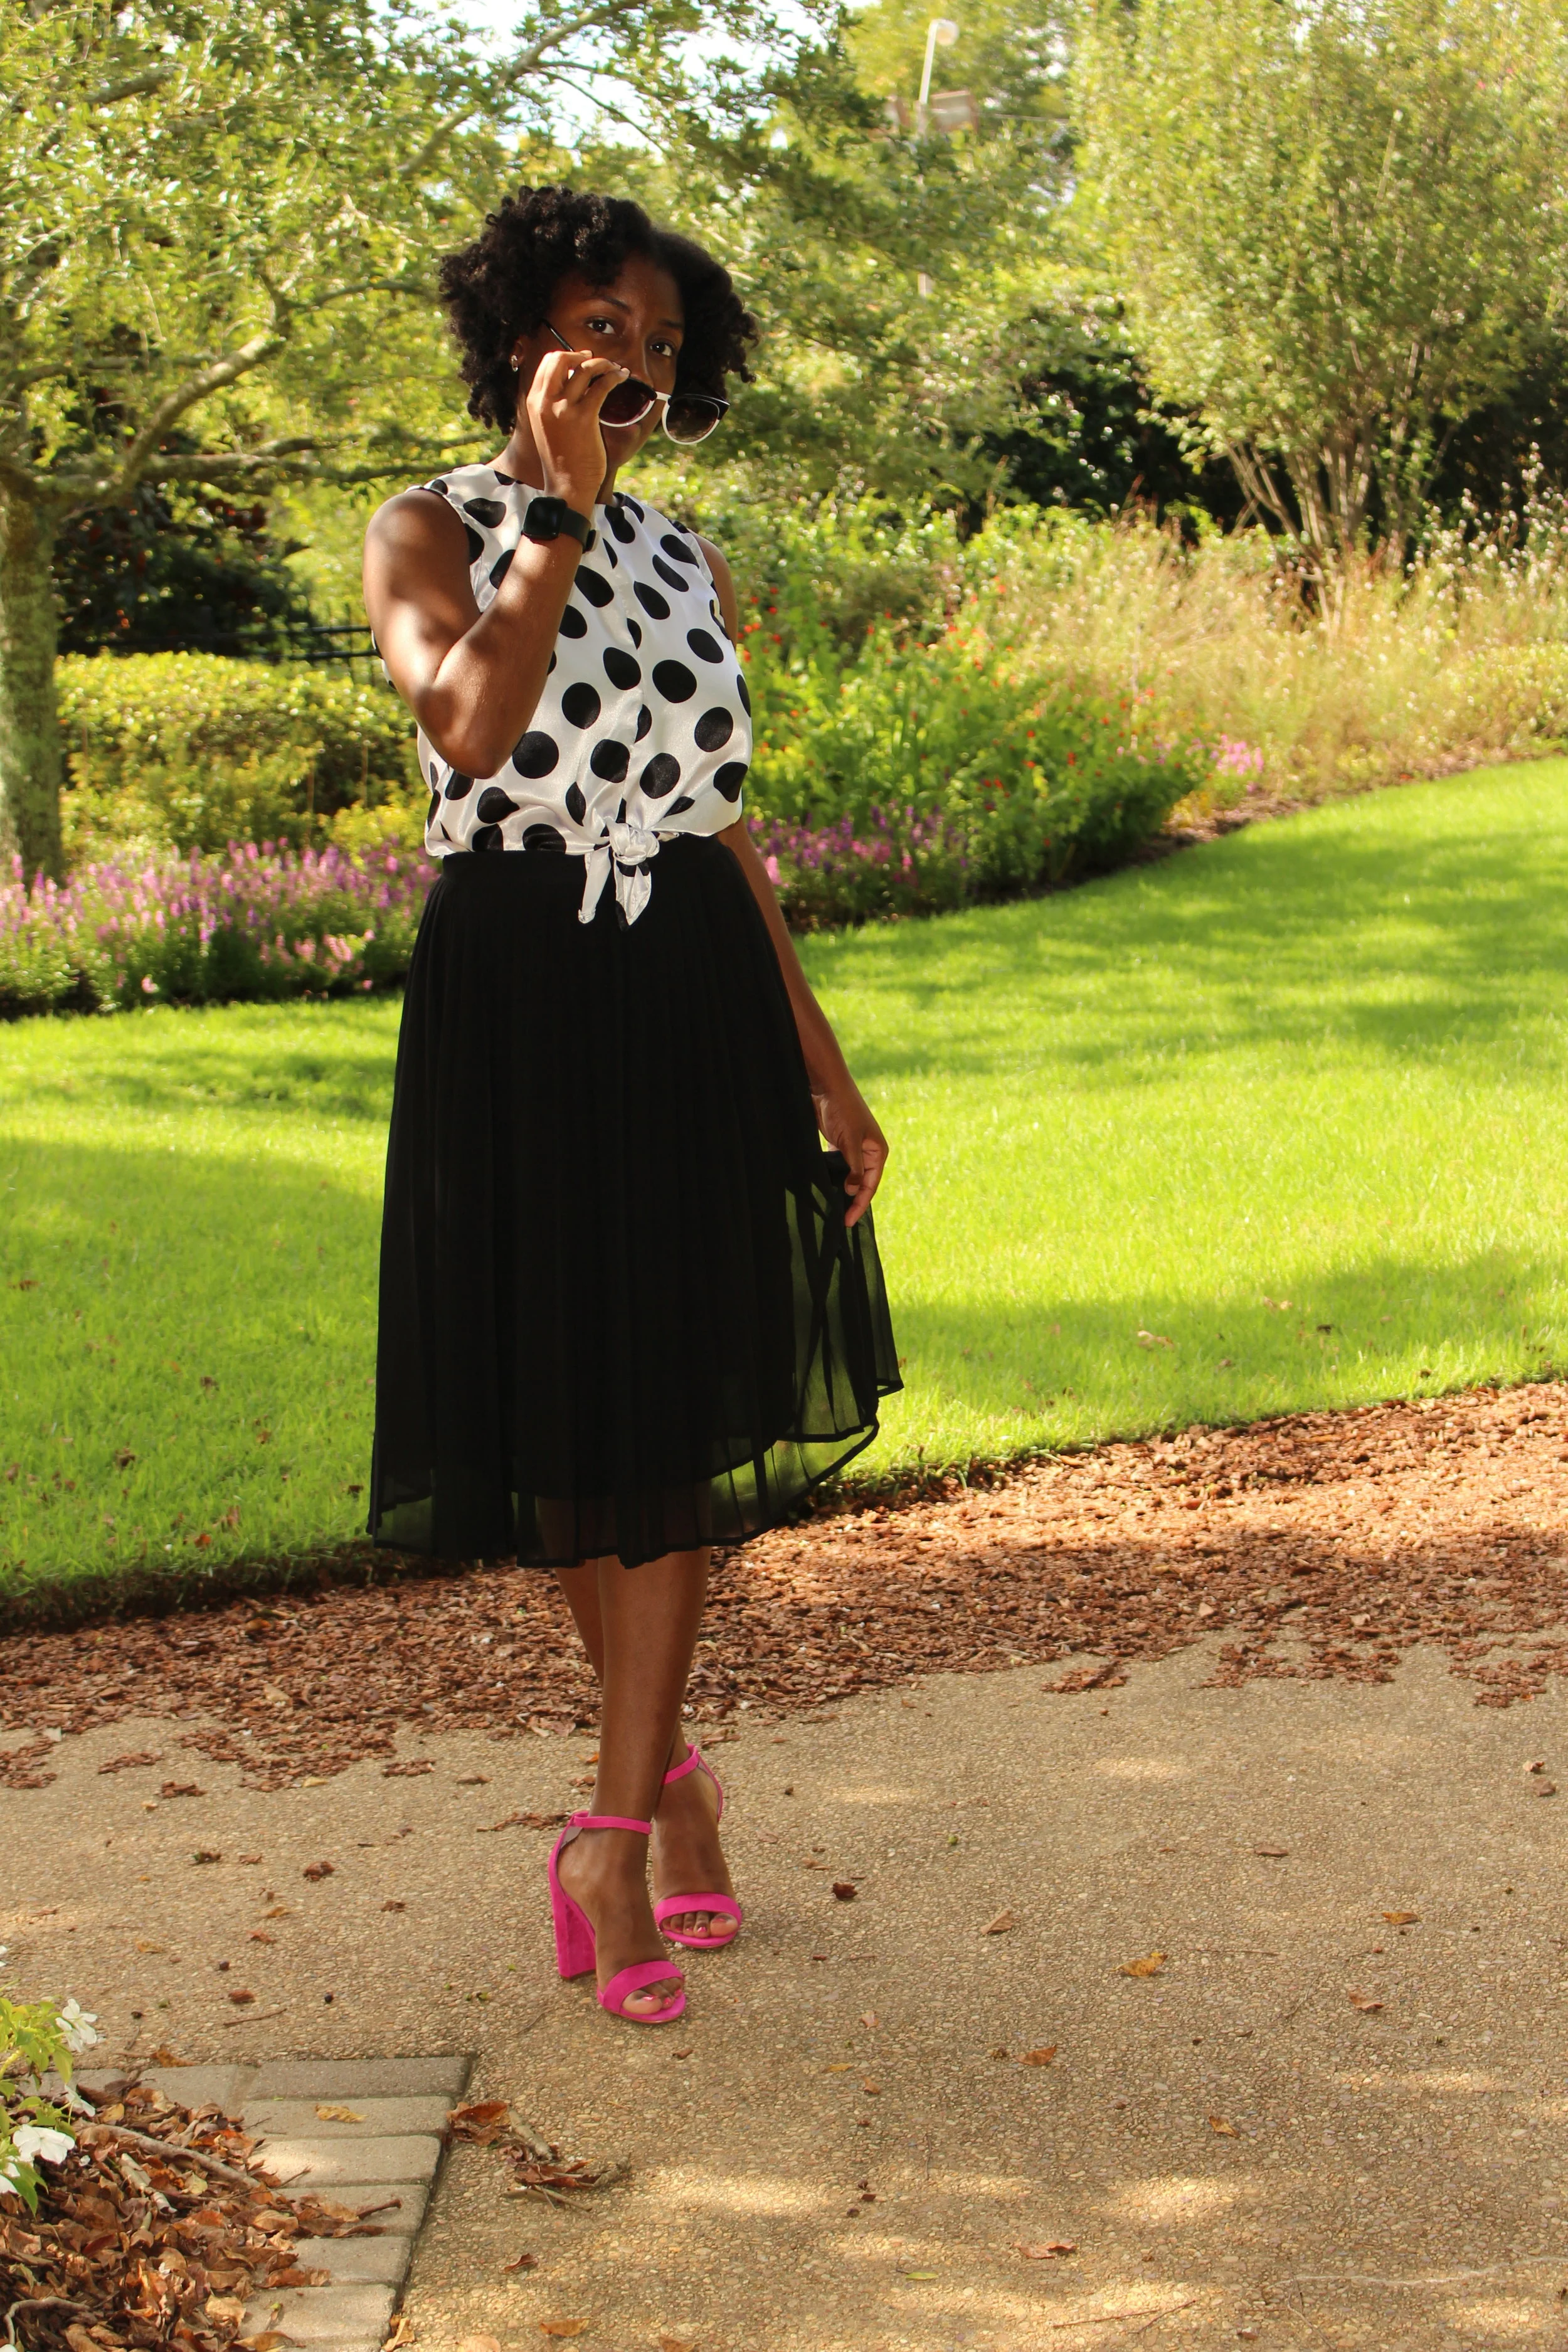
The first thing I made was another sleeveless front tie top using simplicity 8601. This pattern has already been reviewed by me here. The only changes I made was sizing up to avoid the slight pull, I had the first go round, at the bust. Here's a sewing tip. Satin is very delicate, if you are a sewing seam that will be under stress, I recommend sewing two rows of stitching. For me, that was the center back seam. Otherwise, everything was sewn the same. I finished all seams with a really tight rolled hem, as this fabric frays with the slightest touch.
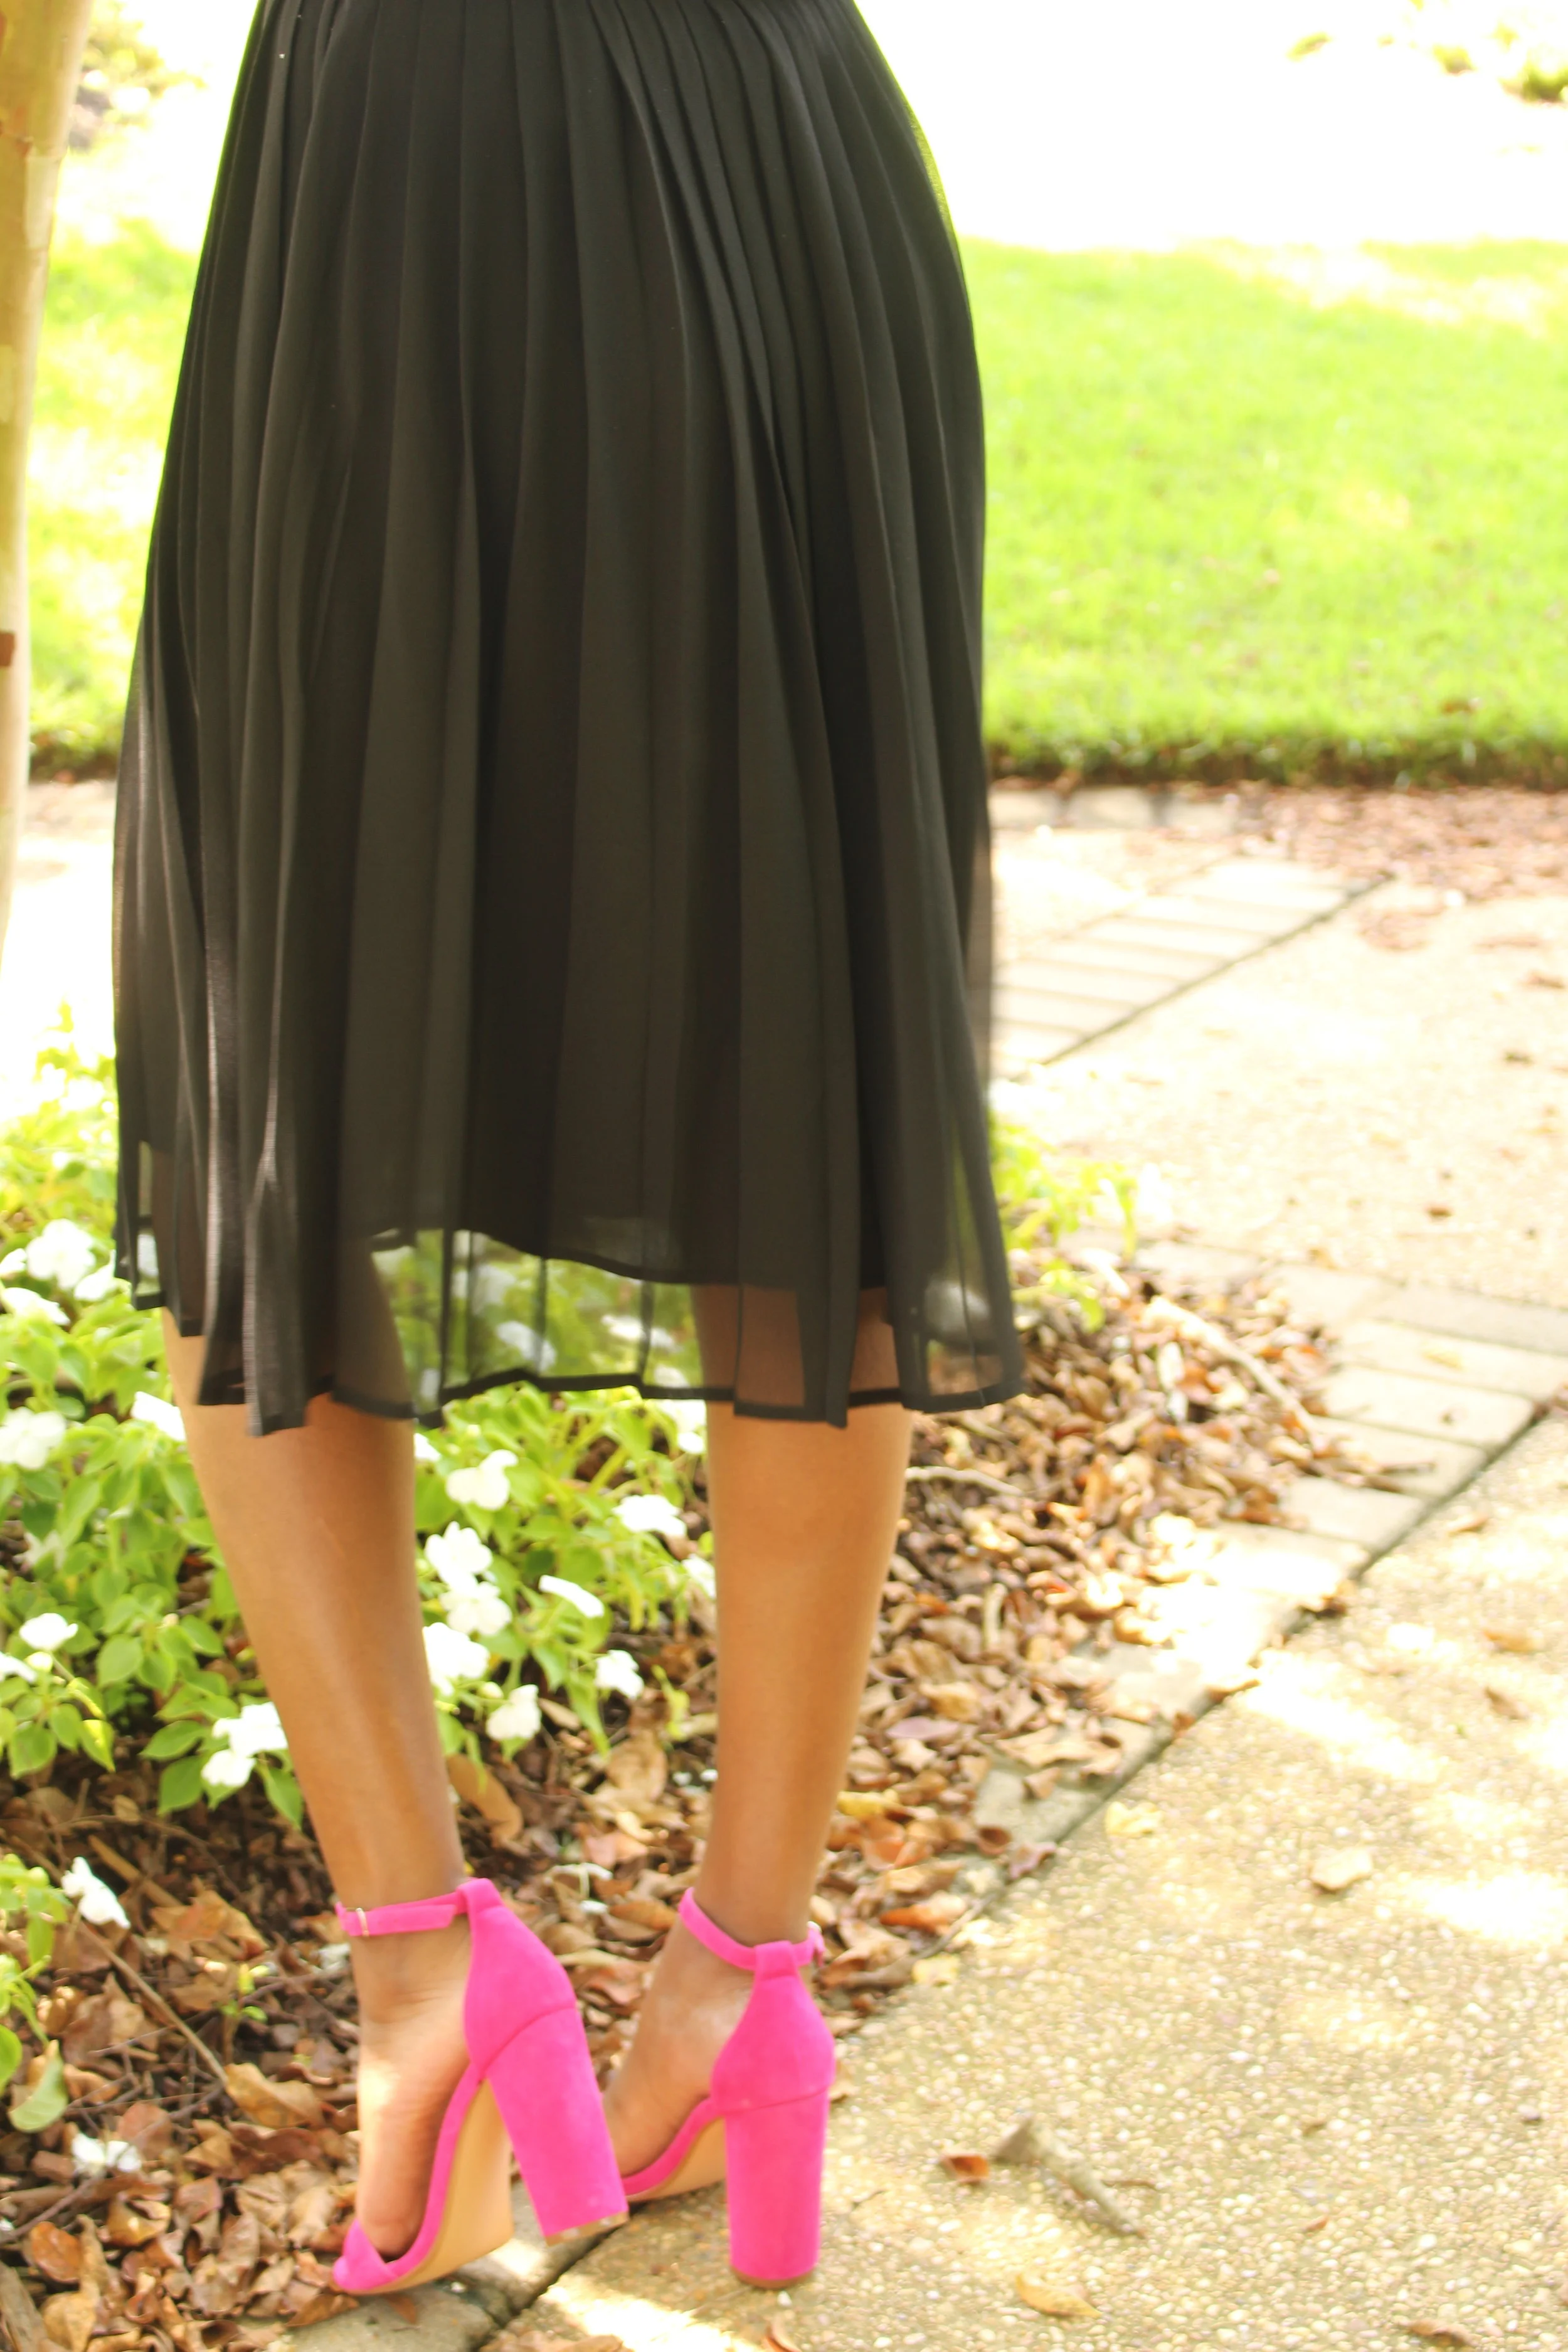
I paired the top with an old pleated skirt from H&M and Steve Madden Hot Pink Sandals. This top, however, looks great with a pair of high waist jeans, which is exactly how I paired it for casual Friday.
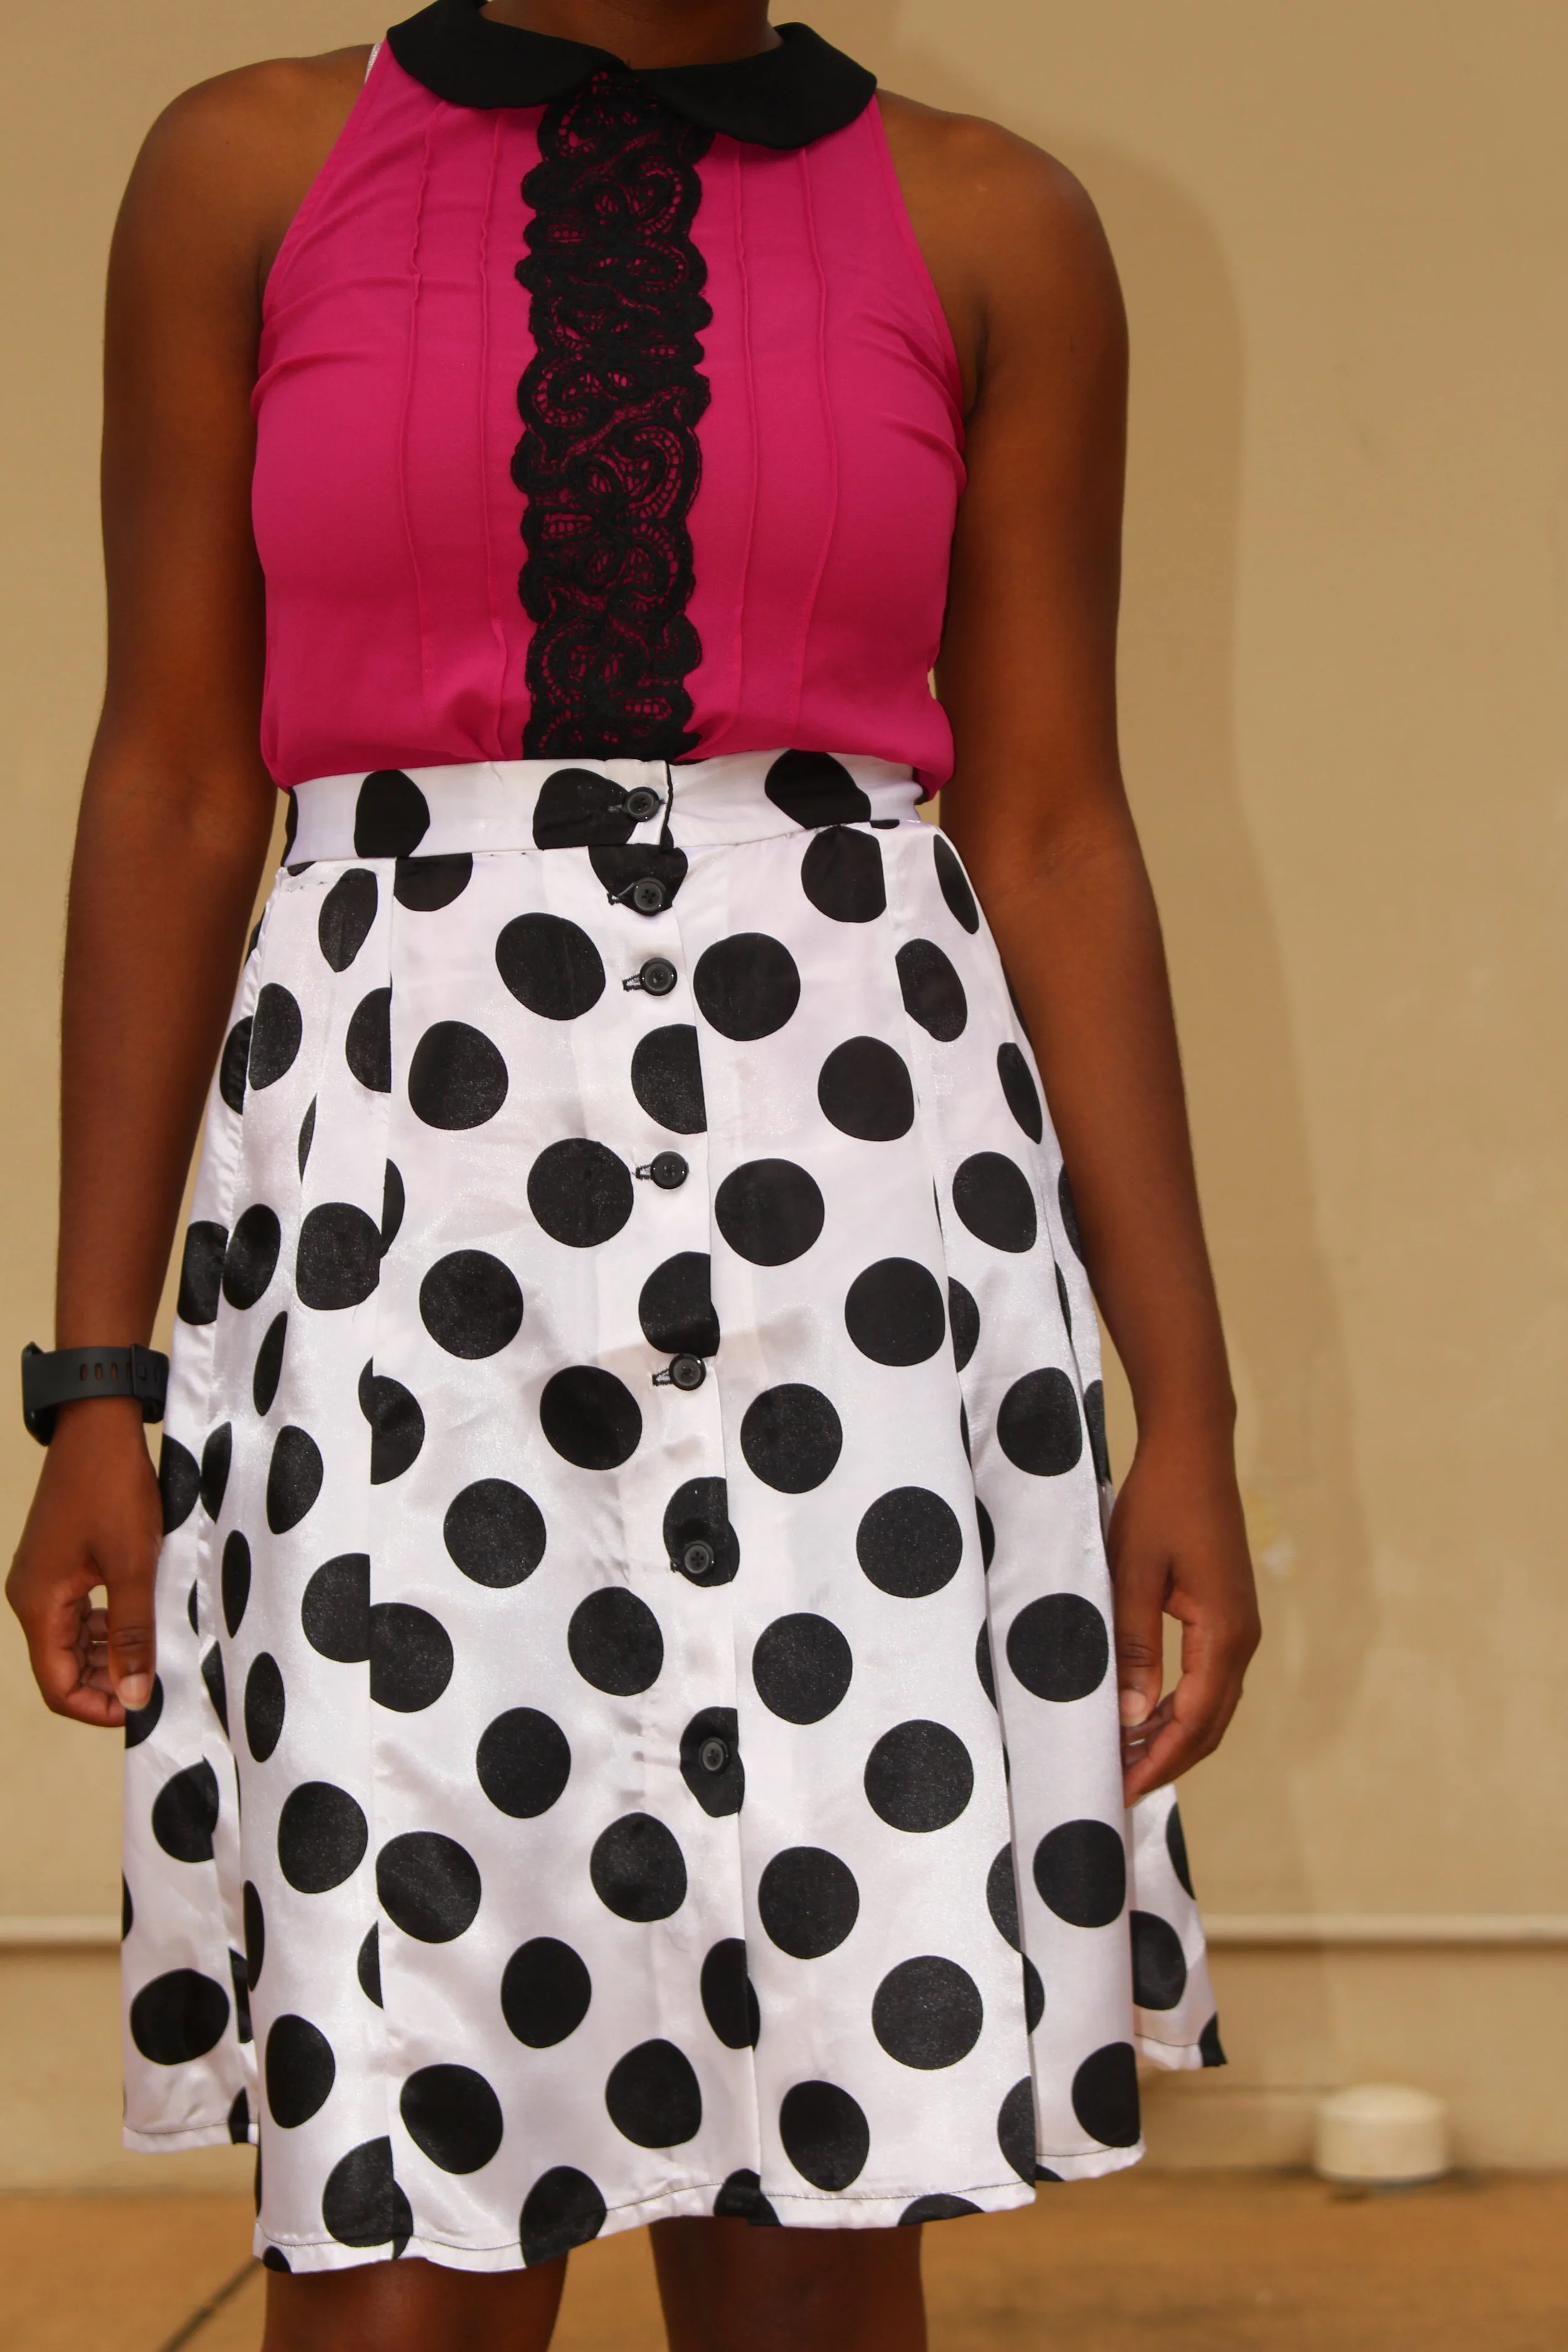
After finishing the top, I knew that I only had enough fabric left to make a skirt or short. Since I don't wear shorts regularly, I decided going with a skirt would ensure that this outfit would be worn more than once. I only had about a yard and three-quarters worth of fabric leftover so I went with Simplicity 8019 for the skirt. The pattern is fit and flare button down skirt at four different lengths. I chose this pattern because of the simple design and the fact that it didn't require a significant amount of fabric. This was my first time making it, and I did not muslin it. I did, however, use muslin to test the fit of the waistband before I cut the pattern out. After doing that, I cut out the size 12, at the shortest length. The instructions are very straightforward, but I would recommend applying your interfacing as soon as you cut the fabric if you are using a satin or anything similar to that to prevent stretching on the bias. I also recommend that you test marking tools on a fabric scrap before marking your actual pieces. I tested on the scrap first with my chalk rollers and then with my fabric markers. I discovered that the color from the fabric marker was much easier to remove than the chalk roller .
I changed a few things for this skirt. First, instead of finishing the button placket with a machine or invisible stitch, I used stitch witchery along the edge of the placket seam. I didn't want black or white thread popping up along the button band, so this was a better option. I also added a seventh button between the first and second button at the top. For interfacing, I used Pellon easy knit fusible interfacing. I wanted to maintain the charmeuse satin lightness, and I felt that this interfacing got the job done. I am very satisfied with the final look of this skirt. I am beyond excited about the set. Put together; it really looks like a dress. More importantly, I love the fact that I can create three or more outfits from this quick sew set. Until next time, happy sewing.


