
Denim on Denim A-Line Skirt: How to draft & sew curved inset pockets
Hello sewing friends! This week blog post is a detour from my typical post. I decided to modify my basic self drafted A-Line skirt pattern this week because I really wanted a new denim skirt with belt loops and curved inset pockets.

Basic A-Line Skirt
My basic pattern includes an in-seam pocket, which I love, but I really like how curved inset pockets give me the option of adding an effortless design detail.
For this project I used medium blue denim purchased at Walmart as my main fabric. My contrast denim is leftover stretch denim from a previous project, which was purchased at JoAnn. I love the finished skirt and I intend to make another skirt next month using a fabric with more drape. Drafting curved inset pockets is very easy. The tutorial for drafting and sewing the pocket is below, enjoy!
Step 1
Lay out your front skirt panel and mark out the seam allowance if it is not marked already.

Step 2
Now we are going to draw the pocket pattern. You can shape the pocket however you desire, I wanted mine to be curved so I used a curved ruler. Make sure the pocket is wide enough to fit your hand. I used my phone to determine the depth of my pocket, because I knew I wanted the pocket to be large enough to slide my phone in. Draw the pattern out and see if it works for you. If you don't like it, just redraw it until it replicates your vision. My initial drawing is the green line and my final pattern is the orange. Be sure to mark out the seam allowance around the opening and curve of your pocket.


Step 3
Next you will need to trace the pocket back and pocket lining pieces. I used a tracing wheel for this step.
Place your skirt pattern on tracing paper and secure with pattern weights.

To create the pocket back, take the tracing wheel and trace along the entire left-hand side seam, around the pocket curve, and along the waistline until you meet back to the original starting point at the left-hand side seam.

To create the pocket lining move the skirt pattern to a clean section on the tracing paper and trace the new curved lines you drew earlier.
Once you trace the two shapes and cut them out, you should have two pattern pieces that look like this:

Step 4 (for this next step your front skirt panel should already be cut out)
Cut two pocket backs and two lining pieces out of your contrast fabric. Take the lining piece and place it on the front skirt panel. Using the pocket lining as a guide, cut along the curve of the pocket piece removing the top corners in the front panel of the skirt.


Then with right sides together, stitch the pocket lining to the front of the skirt along the pocket opening.

Step 5
Press all seams towards the pocket and understitch along the pocket opening.

Fold the pocket lining piece back, so that wrong side of the pocket is facing the wrong side of the skirt and press. (Optional: after pressing, edge stitch along the opening with a straight or decorative stitch. I did an edge stitch using denim thread.)

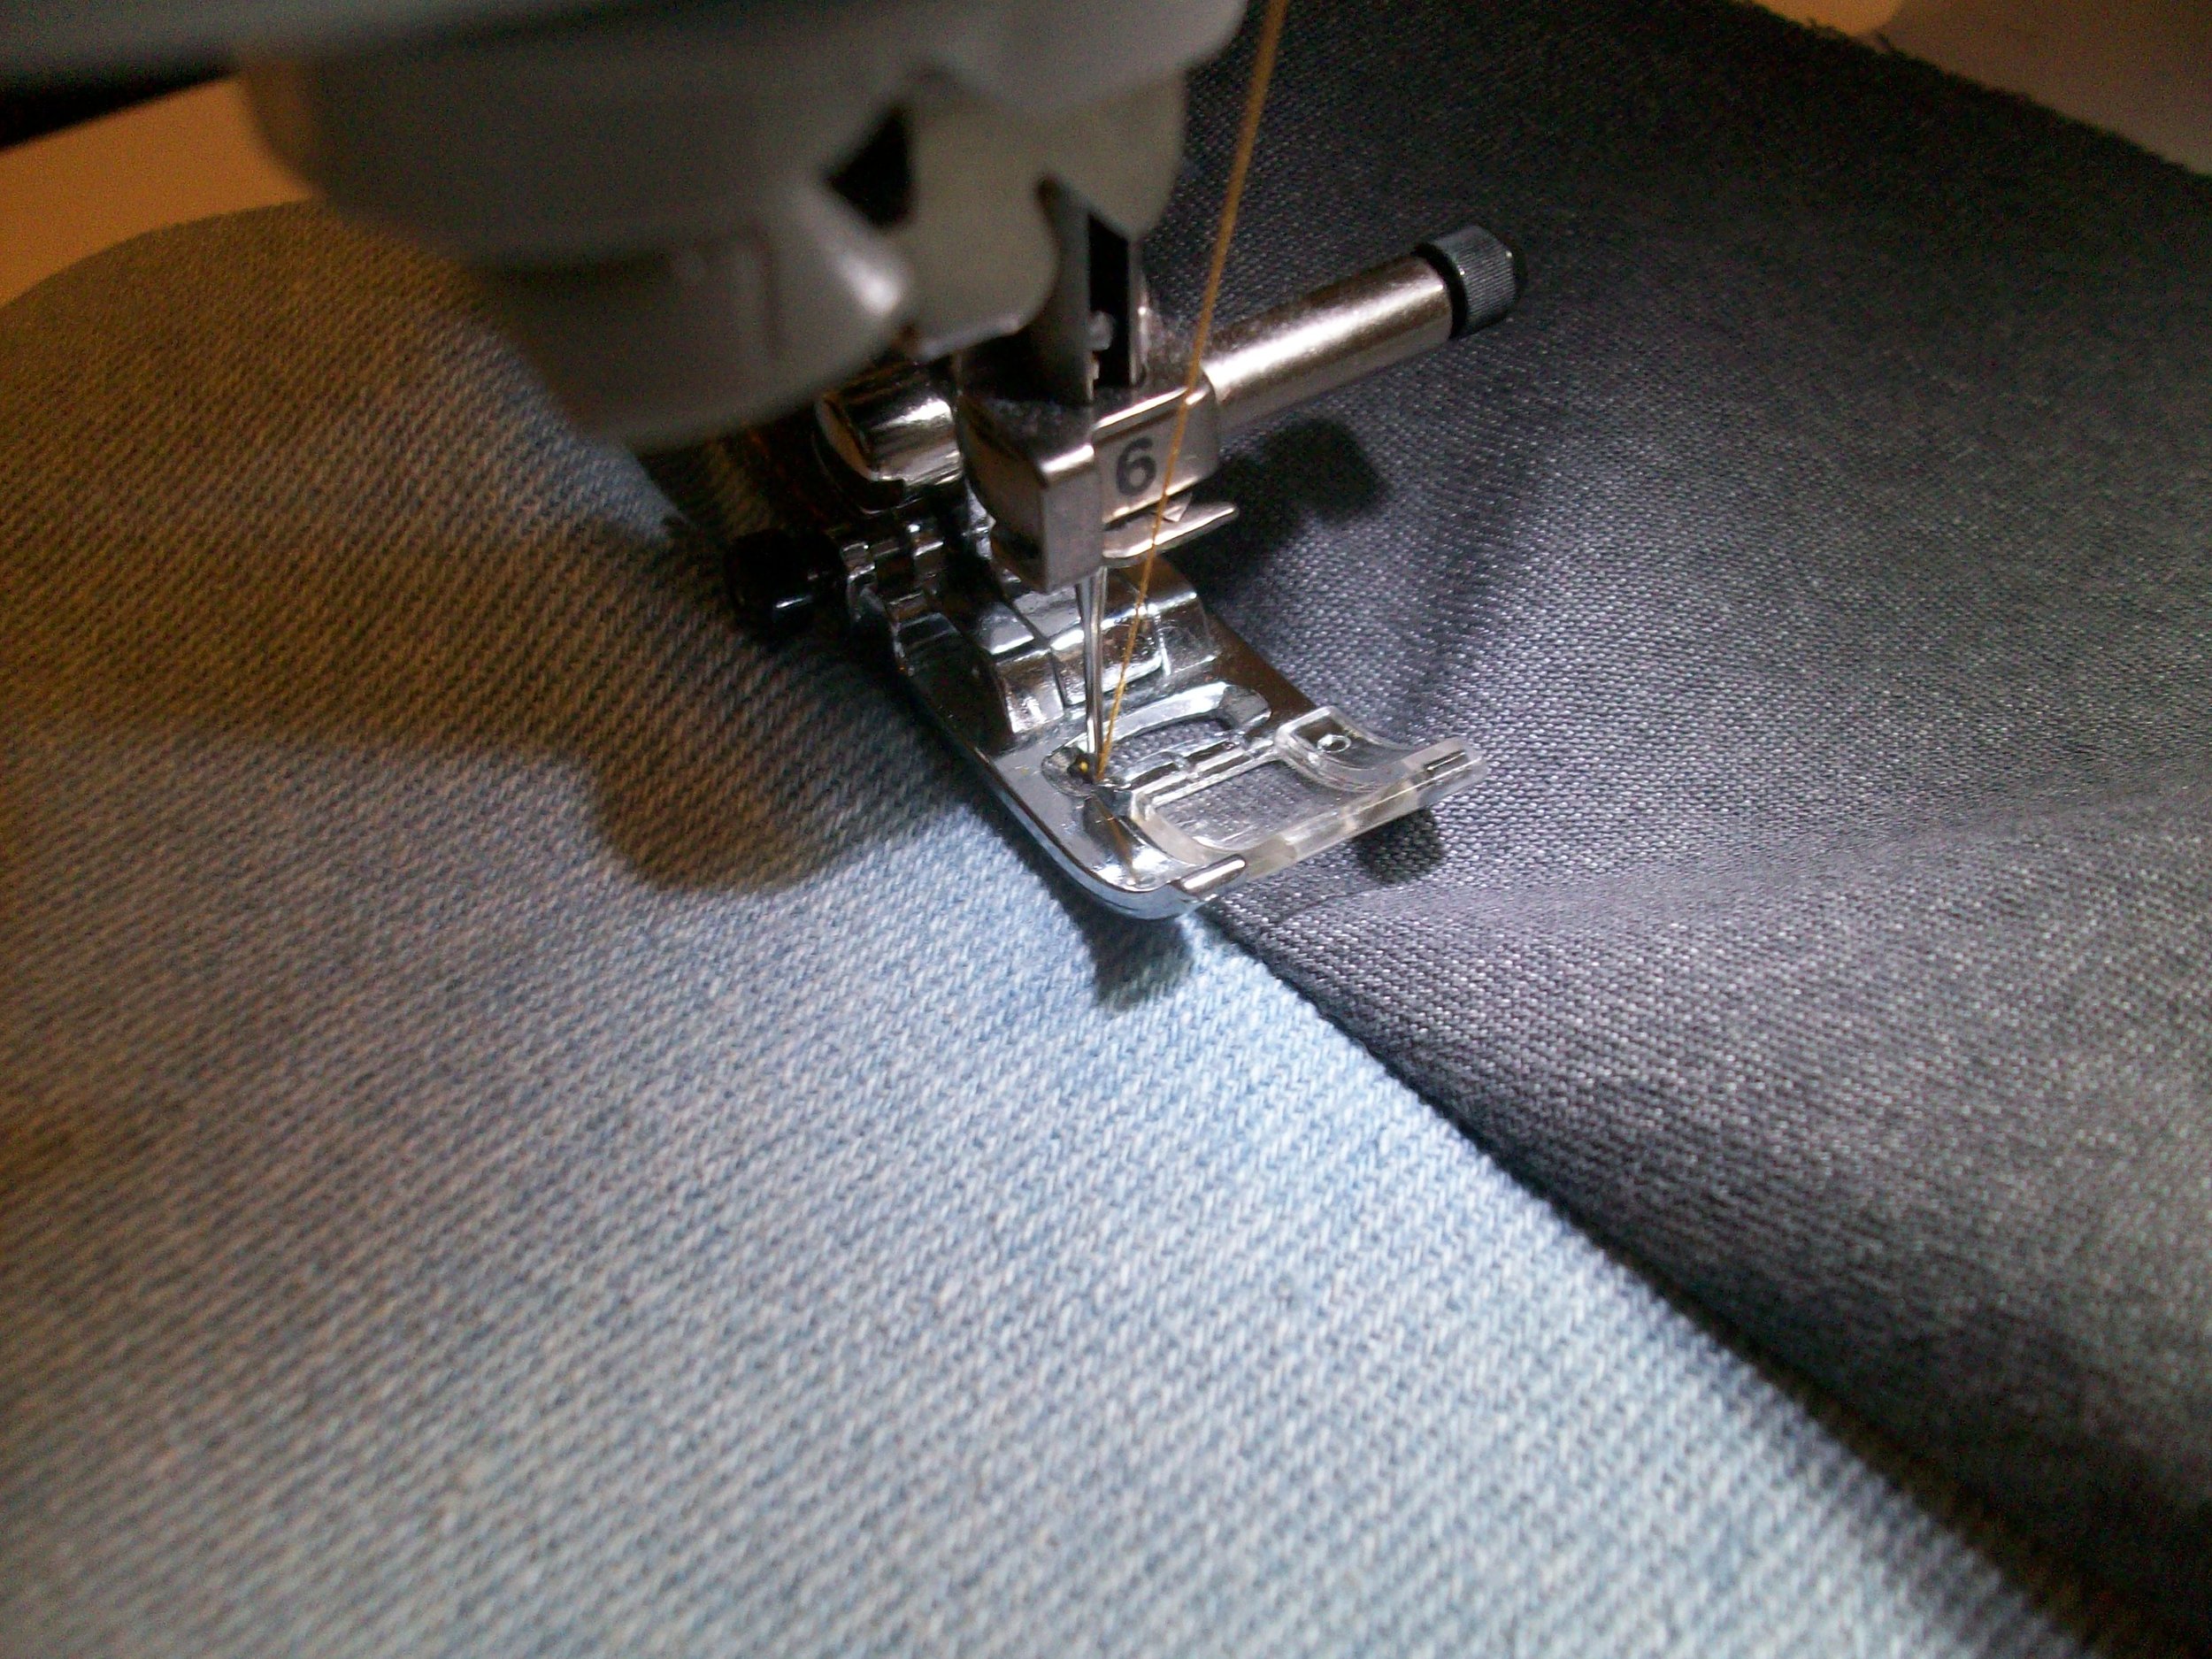
Step 6
Now take your back pocket piece and pin it, right sides facing, to the pocket lining. Pin around the curves and sew, then serge. You, can also use pinking shears or an overlock stitch. (I used my overlock foot because I did not want to move over to the table with the serger. Yes, I had an extreme lazy moment.)


Step 7
Now baste the top and side of the pocket to the front skirt piece.


Tada, you have a skirt with curved inset pockets. Now all that is left is for you to finish your skirt as usual.


